Kanboard
In software development, Kanban provides a visual project management system that aims to deliver a better understanding of work and workflow. It focuses on limiting work in progress, which can help reduce waste from multitasking, as well as promote collaboration.
When I start a new personal project, I generally select kanban over other agile methodologies. This is because it is very quick and easy to get started, requires minimal maintenance over time and can be understood without any special training.
The most well-known kanban tool is Trello, which is a cloud-based service running on Amazon Web Services. Although you can use the basic capabilities of Trello for free, advanced features such as integrations and enhanced security options, cost $9.99 per user, per month. It is likely that most businesses and even small development teams would need to upgrade, meaning a team of 25 would cost approximately $3000 per year.
As a result, I was interested to find a more cost effective alternative…
Kanboard
Kanboard is an open-source (The MIT License) application that delivers a “Trello like” experience, including integrations and enhanced security options. Kanboard is written in PHP and can be deployed to almost any infrastructure and/or platform.
Like Trello, Kanboard supports projects, user stories and tasks, as well as a number of simple views to help visualize work. The main features include:
- Visualize your work (kanban, calendar, lists, gantt).
- Focus on user experience (drop and drag).
- Customise projects (custom swim lanes, etc.)
- All tasks are updated in real-time.
- Supports different teams, projects, sprints, tasks, sub-tasks.
- Supports private and collaborative projects.
- Supports individual (personal) views.
- Granular security model (Project Manager, Member and Viewer).
- Includes popular integrations (e.g. Slack and GitHub).
- Open RESTful API for custom integrations.
- Supports reporting, analytics and dashboard capabilities.
- Supports importing / exporting of data (CSV).
- Supports Single Sign-On (Oauth2).
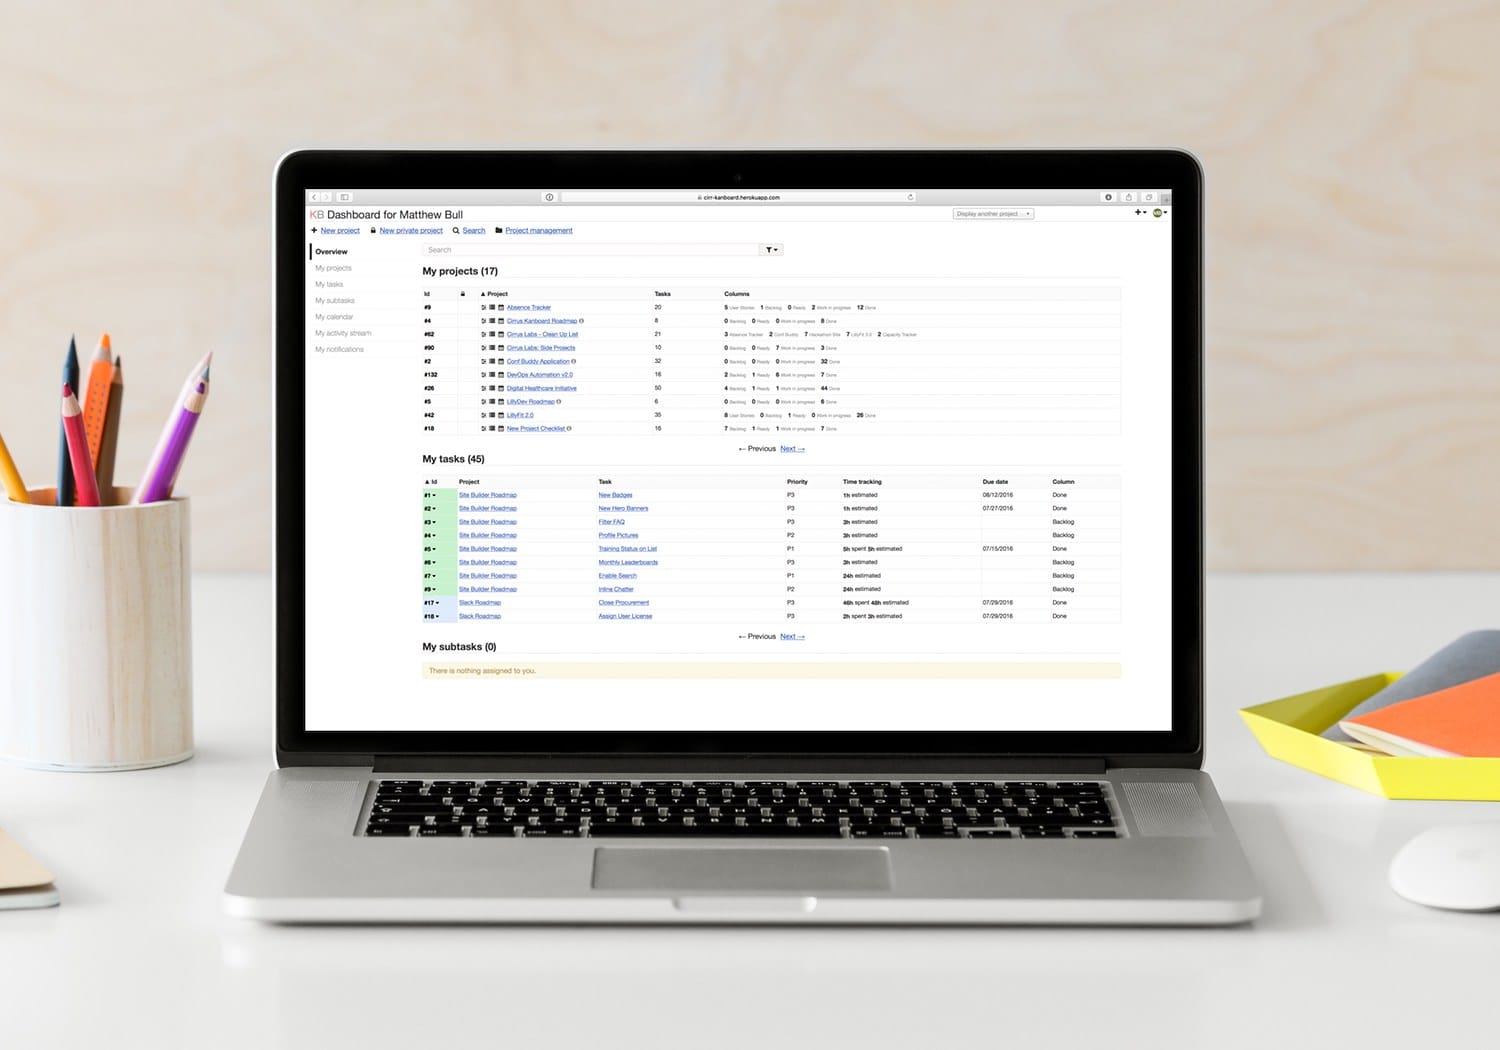
Upon launching Kanboard, you are greeted by a personal dashboard, which provides an overview of your upcoming tasks across all projects.

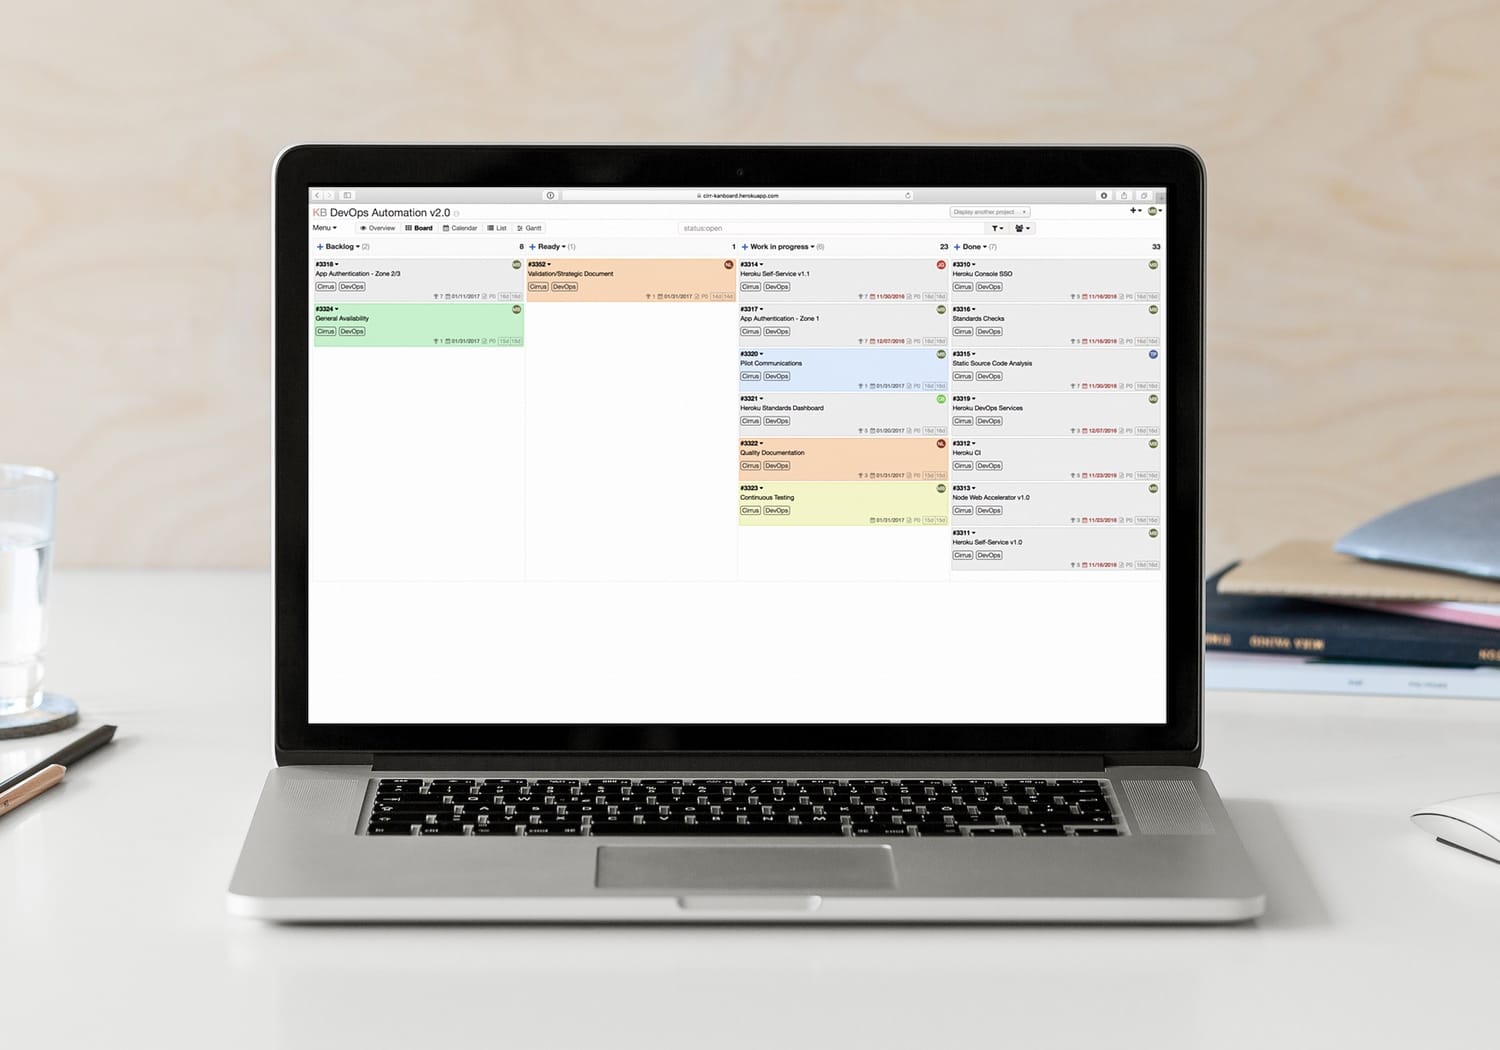
You can quickly dive into a specific project or task, which by default will load a kanban view. The status of a task can be updated by dragging an individual card across the board (just like Trello).

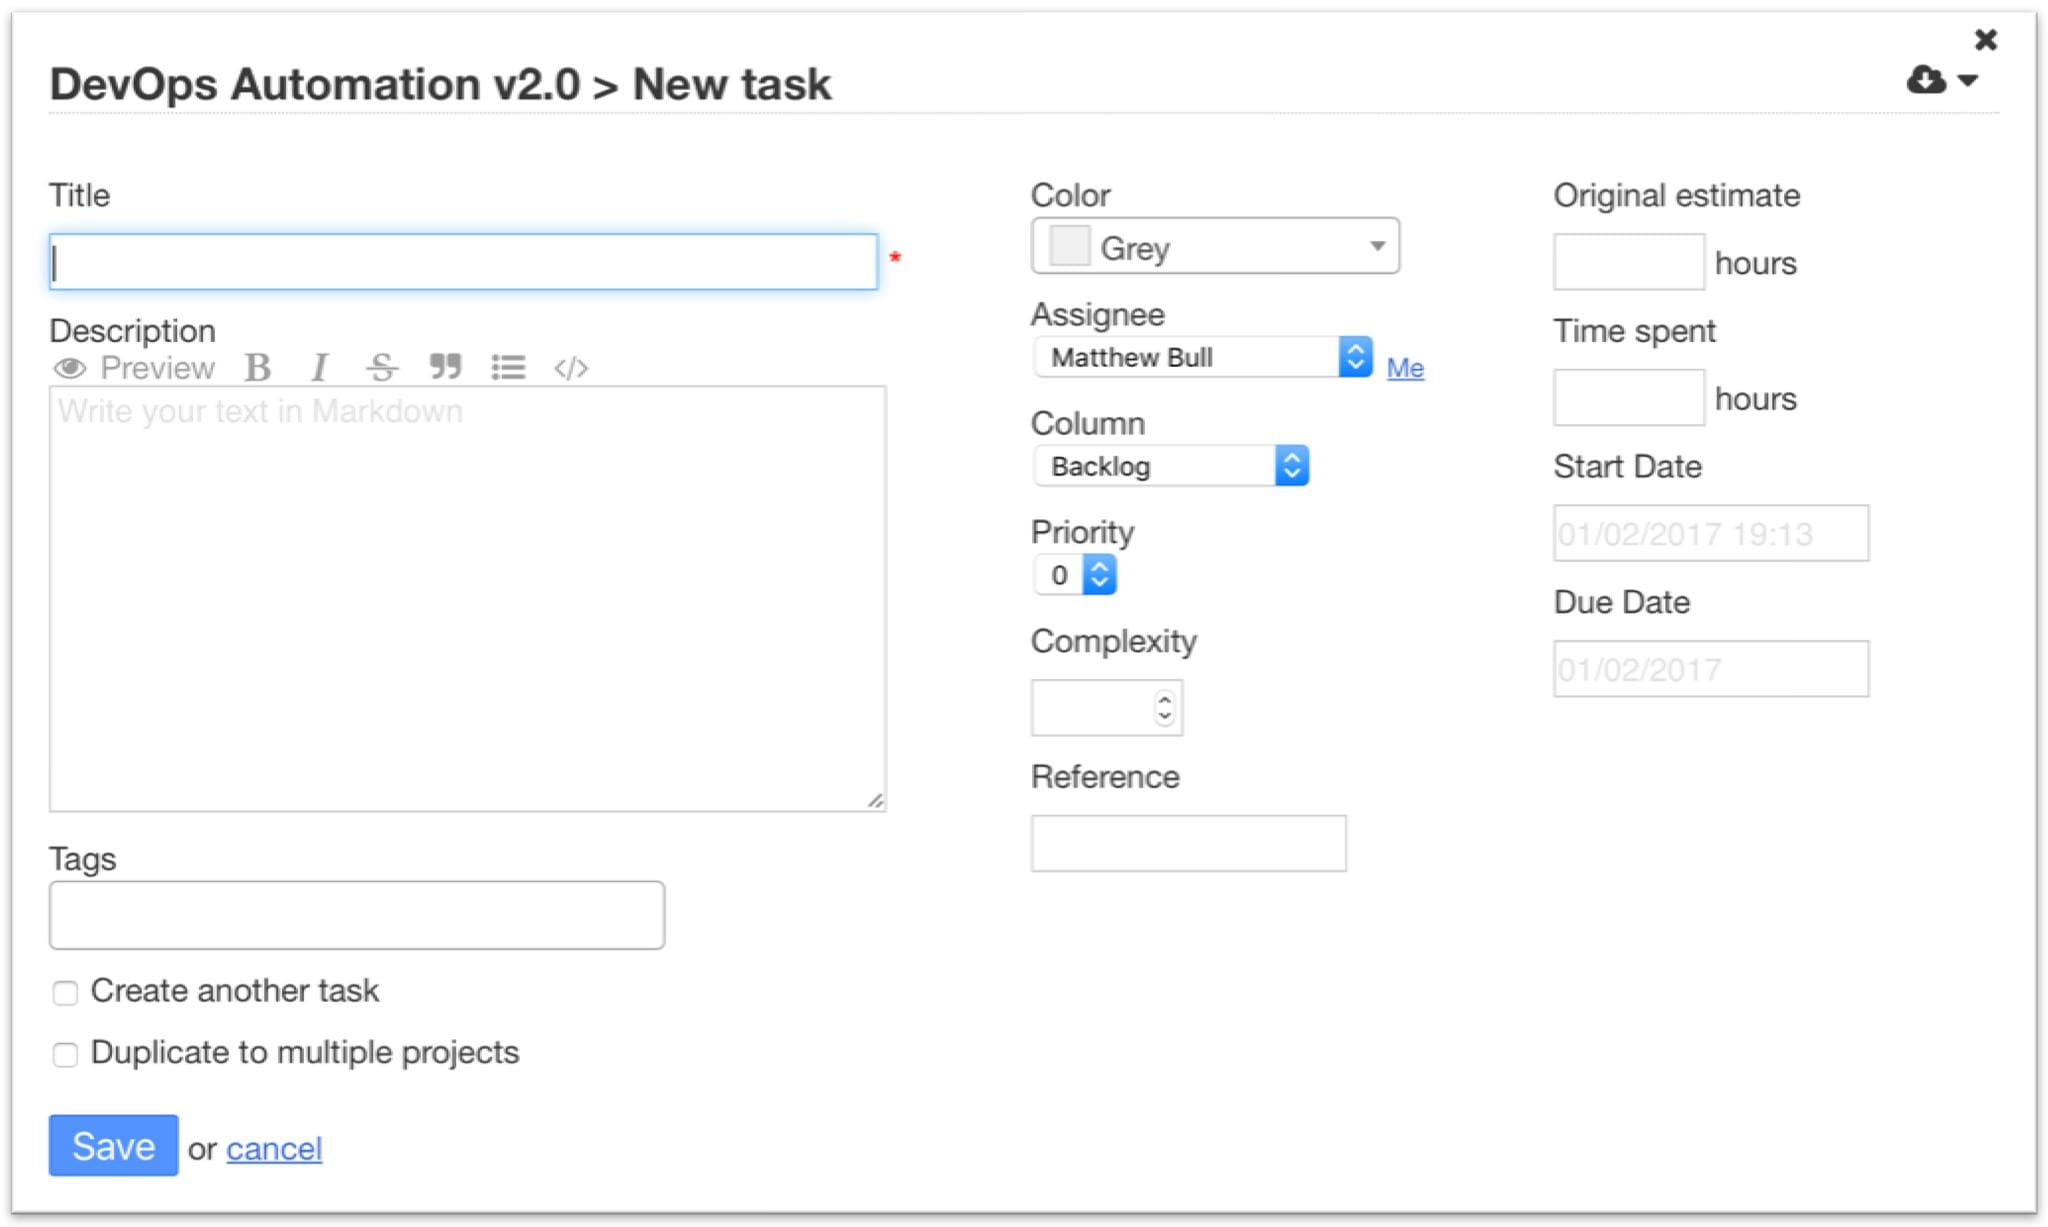
New tasks can be added by clicking the “+” button, which prompts a simple (and customisable) input box.

The only real down-side to Kanboard is the lack of optimised mobile experience. However, the project receives frequent updates, therefore I would not be surprised if this is added in a future release.
As Kanboard can be deployed to any infrastructure and/or platform, you can run a private version for essentially free. Personally, I decided to deploy Kanboard to Heroku, which for a single dyno and postgres database costs just $84 per year (regardless of the number of users). I also successfully scale tested the Heroku implementation by automatically adding 10,000 projects and 10,000 tasks over a twelve-hour period.
Installing Kanboard
Installing Kanboard is very simple.
The five steps outlined below are specifically for Heroku (other installation guides can be found in the Kanboard documentation).
- Grab the latest stable build from GitHub.
- Login to Heroku and “create a new app”
- Select the Kanboard GitHub repository and deploy from the “stable” branch.
- Add a Postgres database.
- Launch Kanboard. The first load may take a few minutes.
Due to the application architecture, Kanboard only supports a single dyno, however it will run very well on a free “Hobby Dev” database (10,000 row limit).
Installing Plugins
Alongside the main application, I decided to add the following plugins. These are purely optional, but add a lot of additional value.
- Oauth2 - Single Sign-On using Oauth2.
- Database Storage - Stores uploaded files in the database.
- Mailgun - Send mail notifications via Mailgun.
- RabbitMQ Queue Driver - Setup background jobs using RabbitMQ.
- Timetable - Individual user timetables.
- GitHub Webhook - GitHub Integration (e.g. Issues, etc.)
- Slack - Setup automatic notifications for Slack.
NOTE: If Kanboard is running on Heroku, the plugins must be copied to the source code under /plugins/, not installed from within the application. This is because Heroku has an ephemeral filesystem.
Configure Single Sign-On
One of the most commonly requested features of any application is Single Sign-On (using another identity provider). The Oauth2 plugin allows you to integrate with any Oauth2 compatible provider. For example, I use Salesforce.com as my identity provider.
Outlined below are the configuration steps to use Salesforce.com as your identity provider for Kanboard.
First create a Force.com Connected App. This will provide you with the required “Client ID” and “Client Secret”. You will however need the kanboard “Callback URL” to complete the Connected App setup (see below).
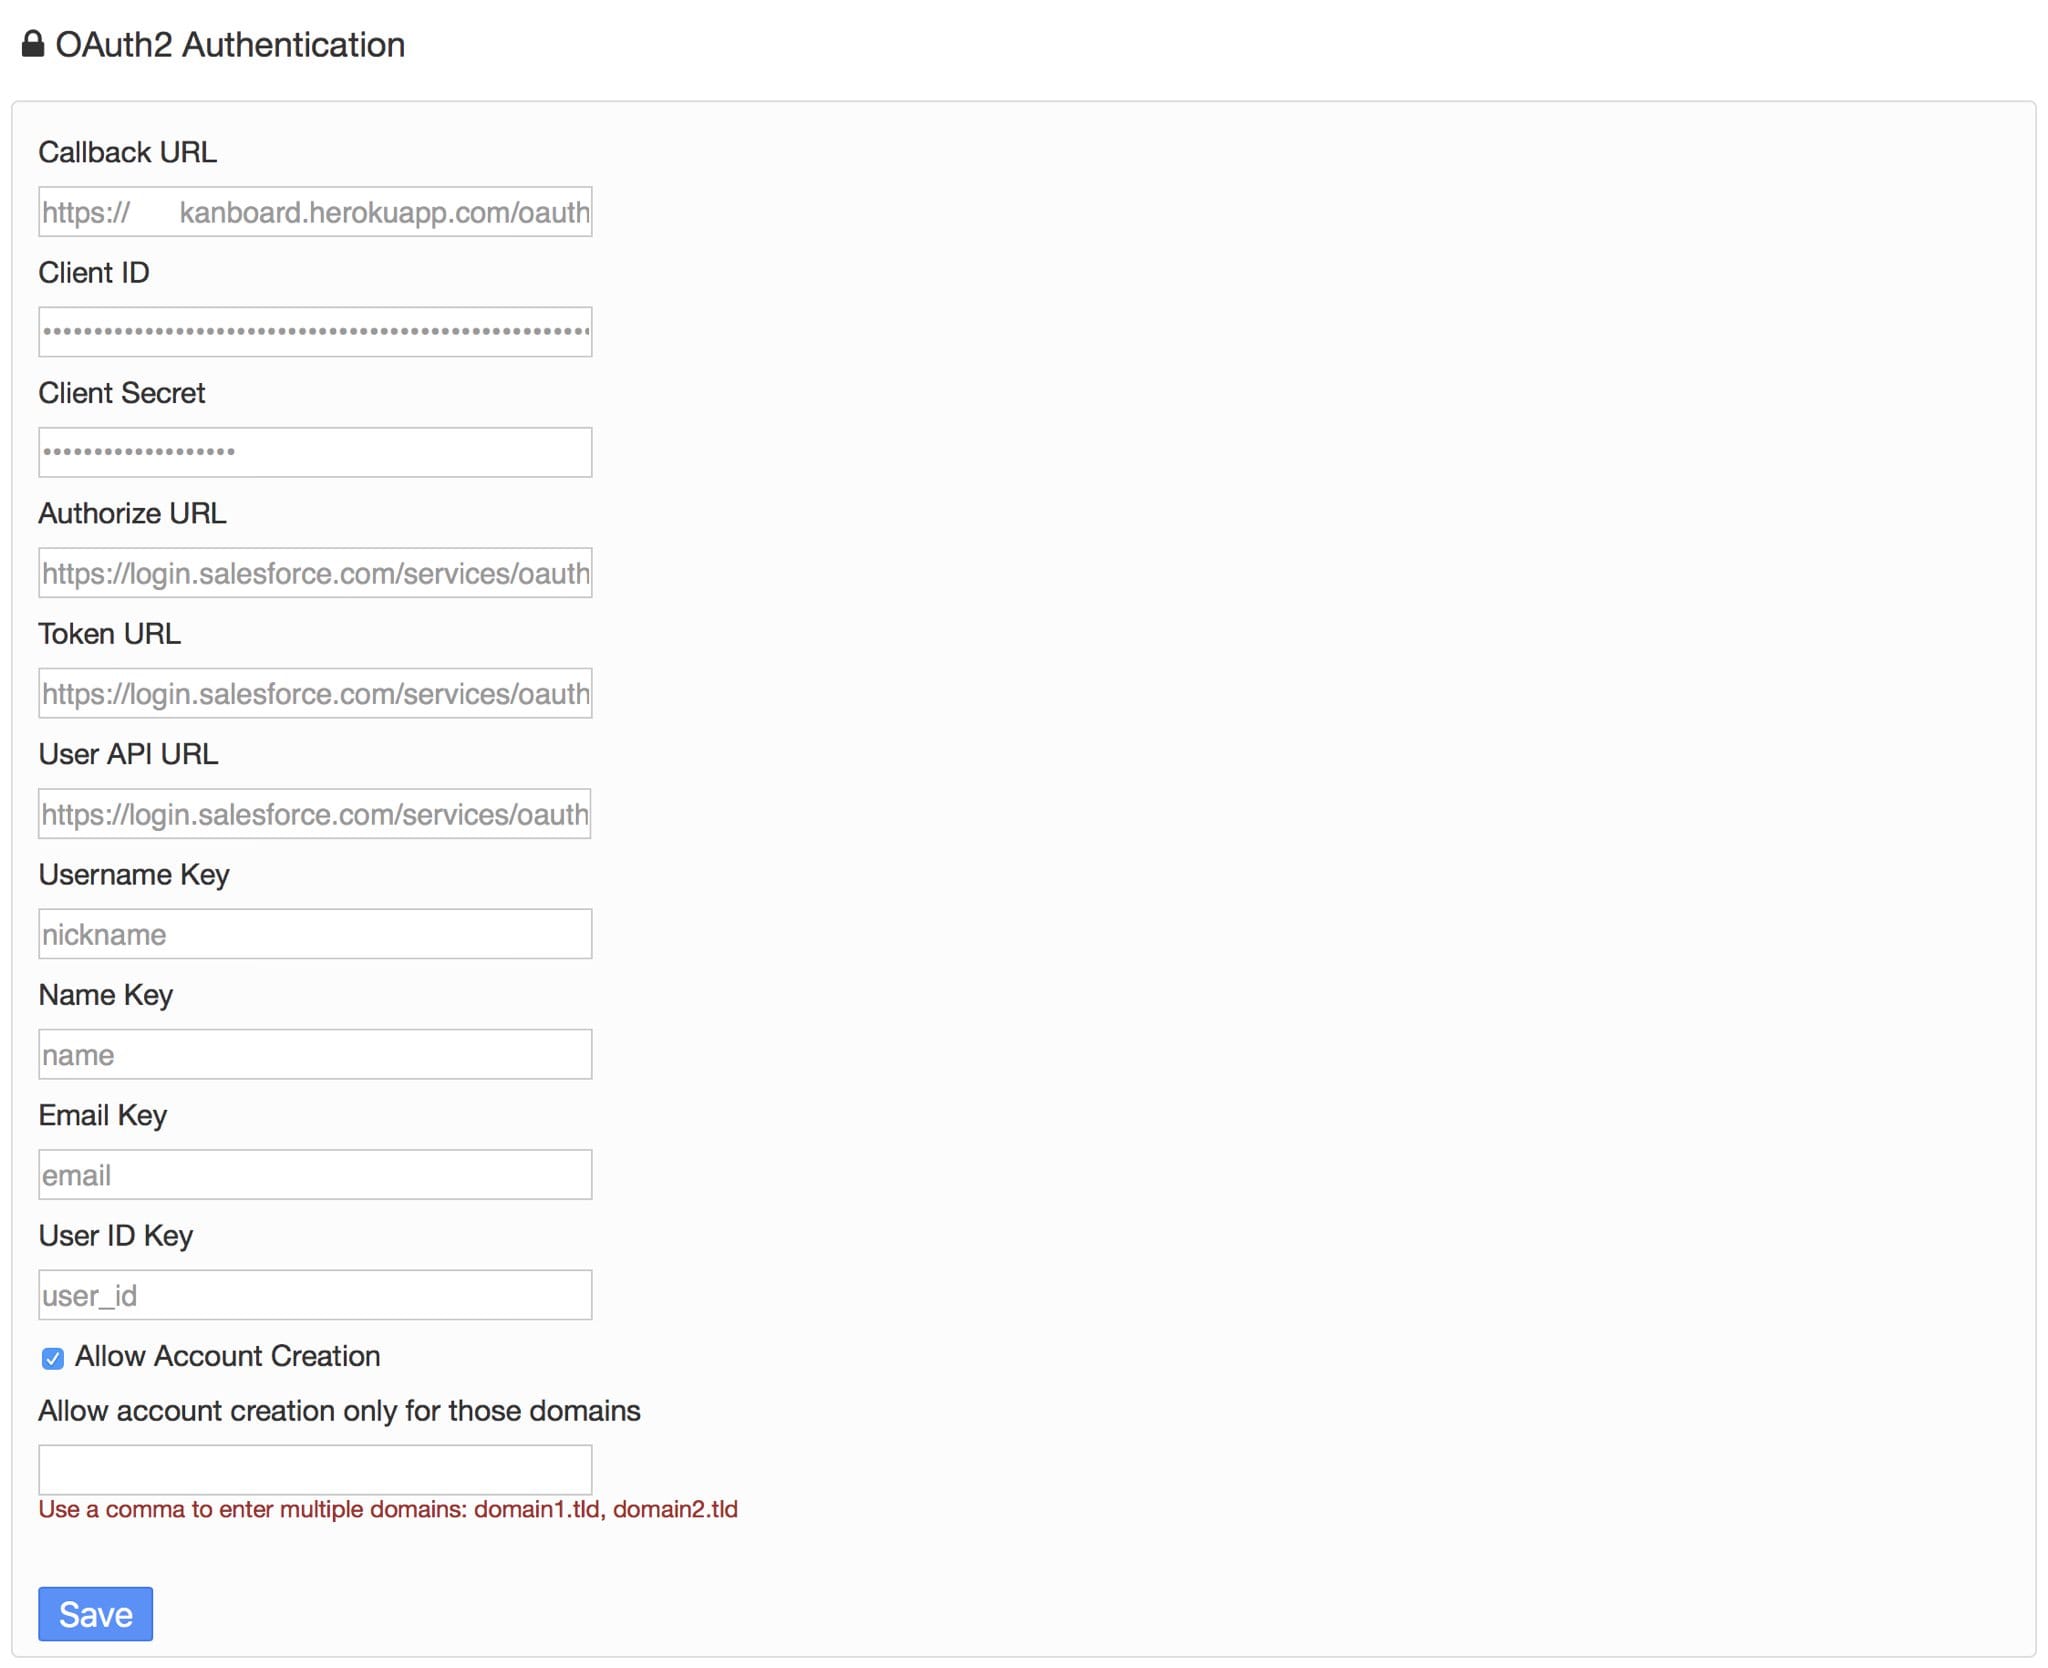
Login to Kanboard and select “Settings > Integrations”. Under “OAuth2 Authentication” you will see eleven fields (image below).

Populate the following fields:
Callback URL: Predefined by Kanboard
Client ID: Copied from the Force.com Connected App
Client Secret: Copied from the Force.com Connected App
Authorize URL: https://login.salesforce.com/services/oauth2/authorize
Token URL: https://login.salesforce.com/services/oauth2/token
User API URL: https://login.salesforce.com/services/oauth2/userinfo
Username Key: nickname
Name Key: name
Email Key: email
User ID Key: user_id
You can also specify “Allow Account Creation”, which will automatically create a Kanboard user account, if a user successfully authenticates via OAuth2.
Users will now be able to login via Single Sign-On using the “Oauth2 login” button.