Configuring Hyper-V
I’m a big advocate of virtualisation. I primarily use it at work for testing and development purposes, however it also offers a lot of advantages for personal use, especially if you are running a Mac OS X and want easy access to other operating systems.
Although there are many virtualisation solutions on the market, both client and server, the focus of this article is a server product from Microsoft, known as Hyper-V.
Introducing Hyper-V
So firstly, what is Hyper-V? It’s a server platform that allows you to create virtual machines for access over a network. Therefore you can create multiple virtual machines (for example, Windows 7, Windows Server, Linux, etc) all running on the same hardware platform and have them accessible anytime and from any device that can run Microsoft’s Remote Desktop Protocol (RDP). The primary use cases for Hyper-V are:
- Test and Development
- Server Consolidation
- Branch Office Consolidation
- Hosted Desktop Virtualisation (VDI)
So what makes Hyper-V interesting? The latest version available is known as Hyper-V Server 2008 R2 with SP1 (catchy Microsoft naming). With this product Microsoft introduced a couple of interesting new features, specifically Dynamic Memory and RemoteFX.
Dynamic Memory: With Hyper-V, Microsoft have optimised memory usage, allowing it to be dynamically reallocated between different virtual machines in response to changing workloads. This results in a more efficient use of memory while maintaining consistent workload performance and scalability.
RemoteFX: For years the Achilles heel of virtual machines has been their ability to run media-rich services, such as 3D accelerated graphics and unified communication. With RemoteFX Microsoft have significantly enhanced the Remote Desktop Protocol, allowing users running Windows Server 2008 R2 SP1, Windows 7 SP1 and Windows 8 to have a rich graphics experience, while still utilising server-side graphics processing. This means you can now run a full Aero desktop and even use voice and video.
Now we have an understanding of what Hyper-V is and some of its unique selling points, let’s move on to the configuration.
Configuring Microsoft Hyper-V
Before proceeding you will need access to a PC that supports Intel’s vPro Technology, as well as the Hyper-V Server operating system. Microsoft offers multiple versions of Hyper-V, although I recommend installing Windows Server 2008 R2 SP1 Standard or Enterprise and then adding Hyper-V as a role. This allows you to setup the server using the full Windows user interface and add additional roles, such as a file or web server.
The operating system is available as a 180 day trial from the Microsoft website, or for testing purposes through Microsoft TechNet and MSDN subscriptions.
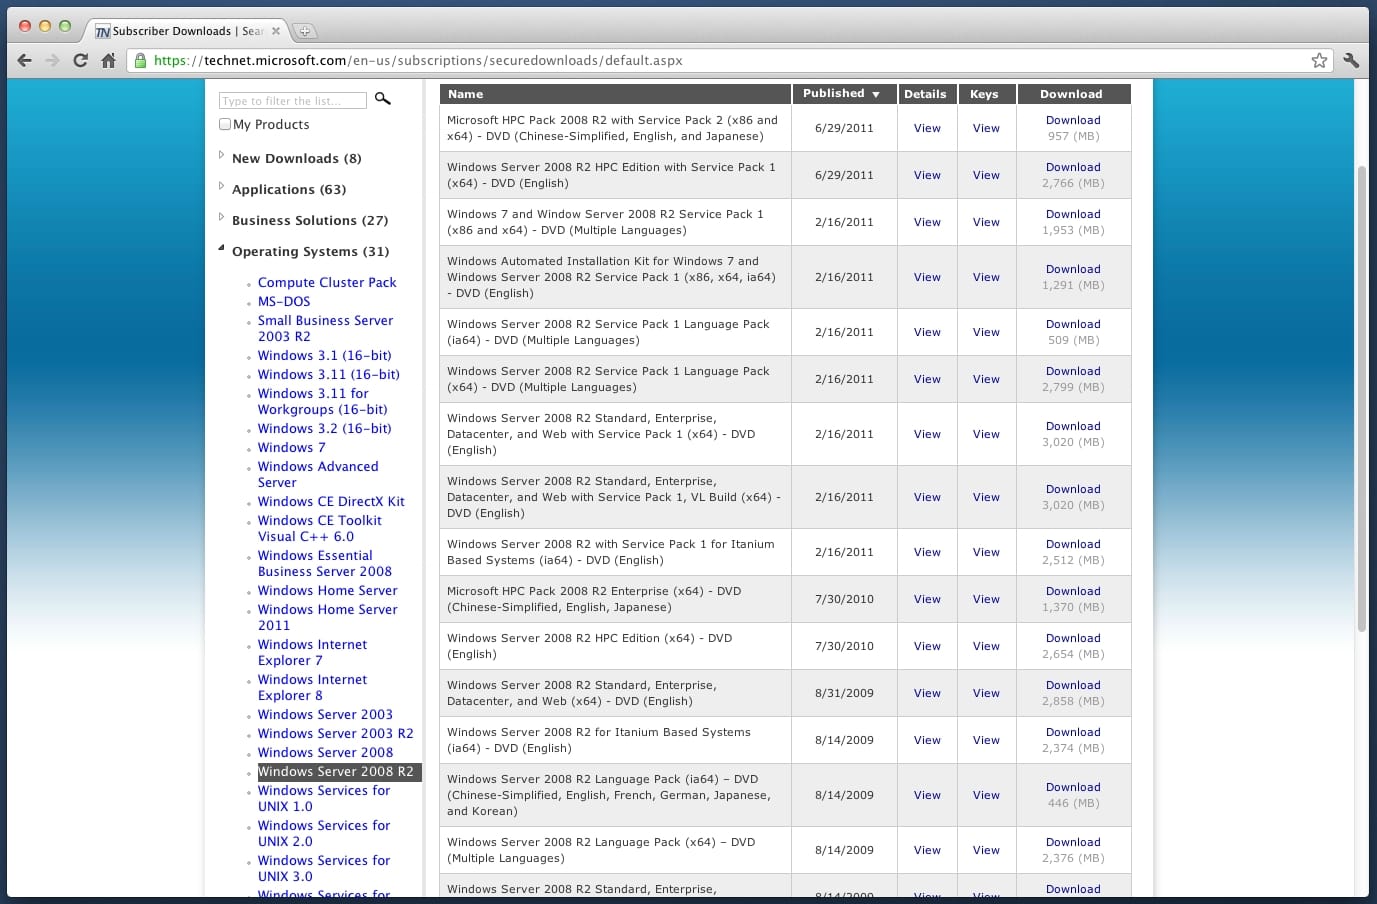
Once downloaded you will need to install the operating system which can be done using a DVD or USB Drive. The process is basically identical to the Windows 7 installation, with the exception that you have to pick your server type, where either “Standard” or “Enterprise” will work fine.
When complete you will be presented with the normal Windows server desktop (essentially the Windows 7 Basic theme).
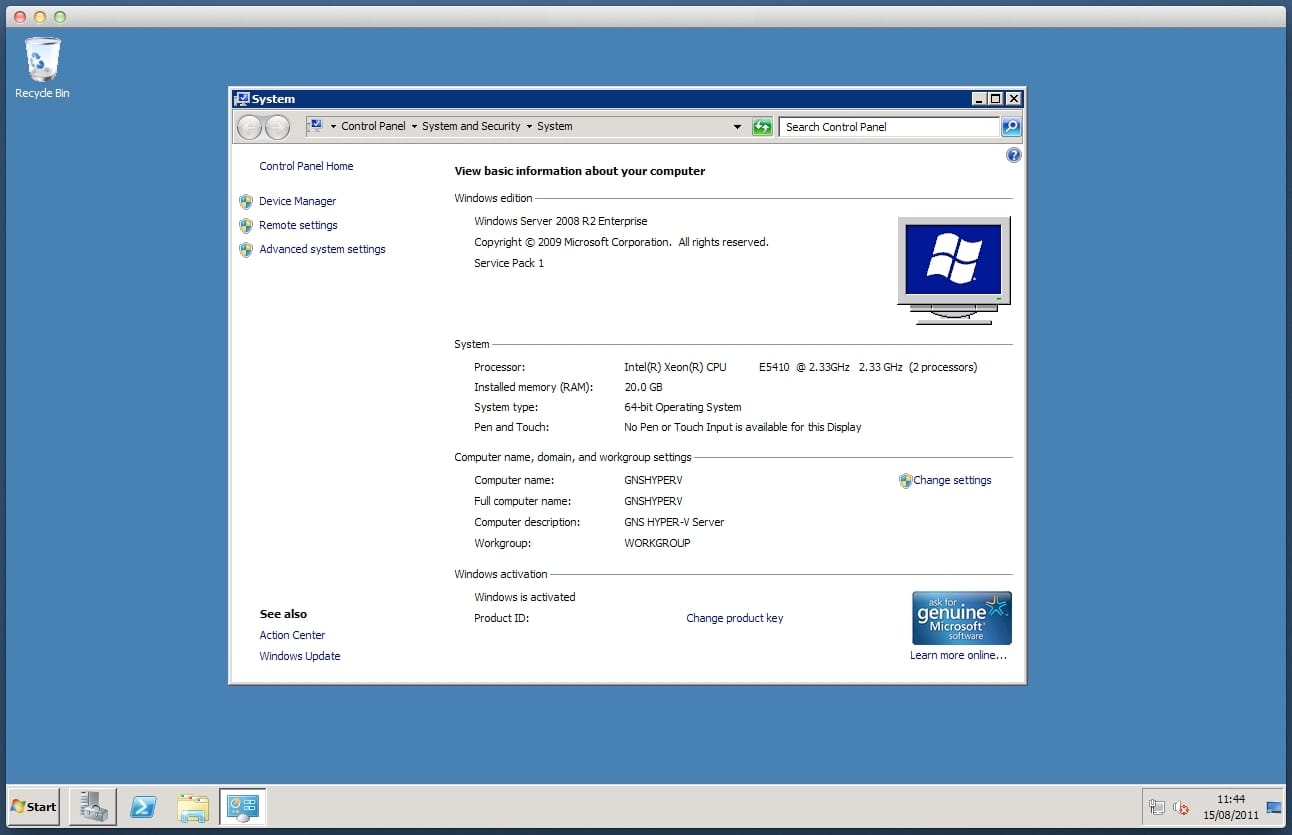
You now need to add the “Hyper-V” role. Which can be done by opening the “Server Manager” found pinned to the task-bar and clicking “Add Roles” from the right pane.
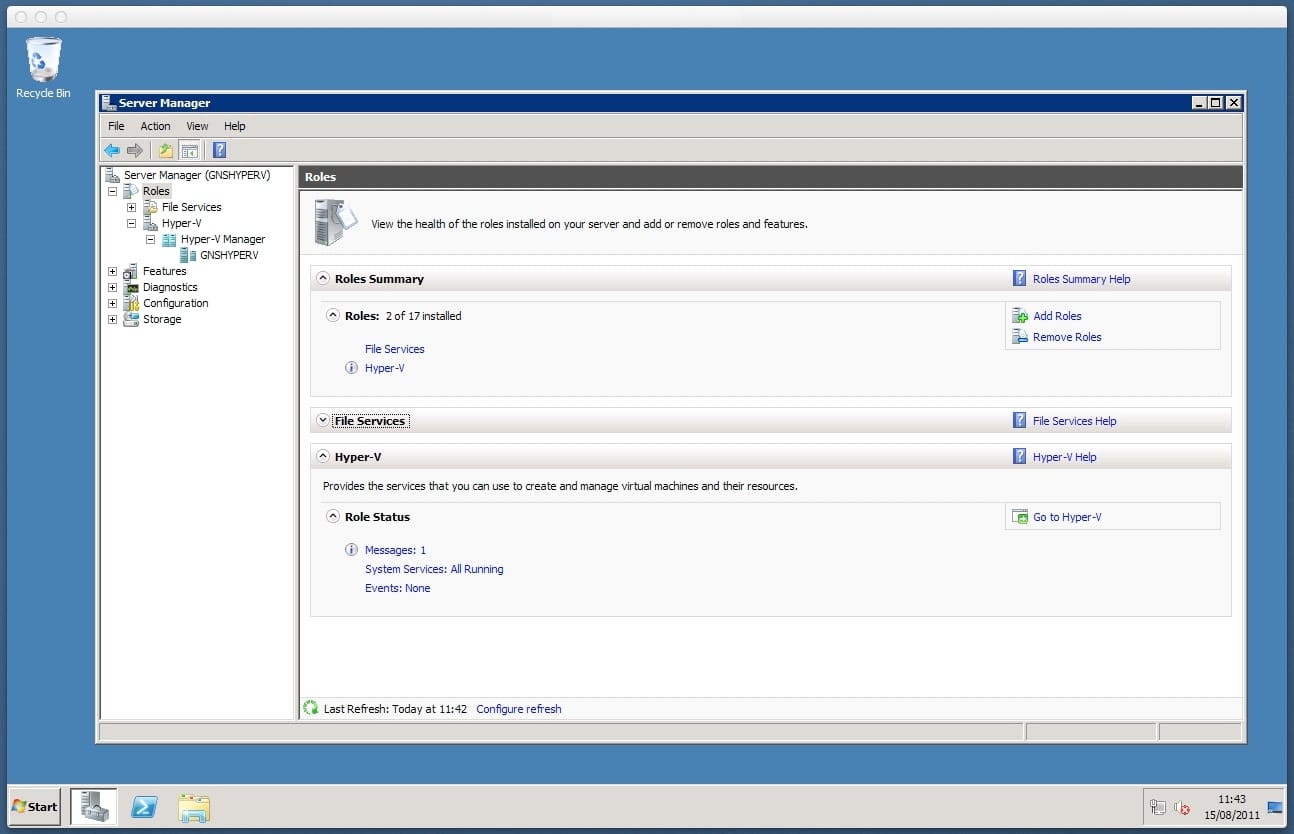
From here, follow the wizard to add the “Hyper-V” role. As you can see from the image below I have already added the “Hyper-V” and “File Services” roles.
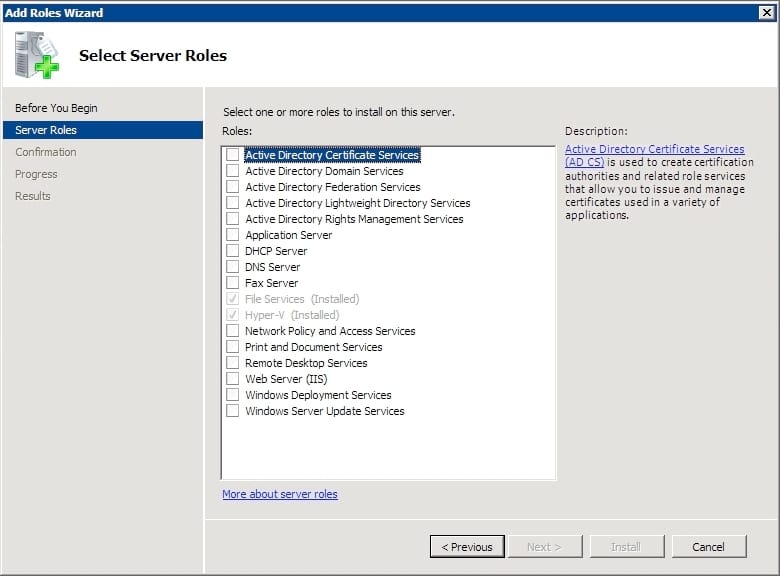
Before you can start using the Hyper-V role you will need to re-start your machine. Once complete you will find the role available from the Server Manager, where you can start creating new virtual machines by clicking “New” from the right pane.
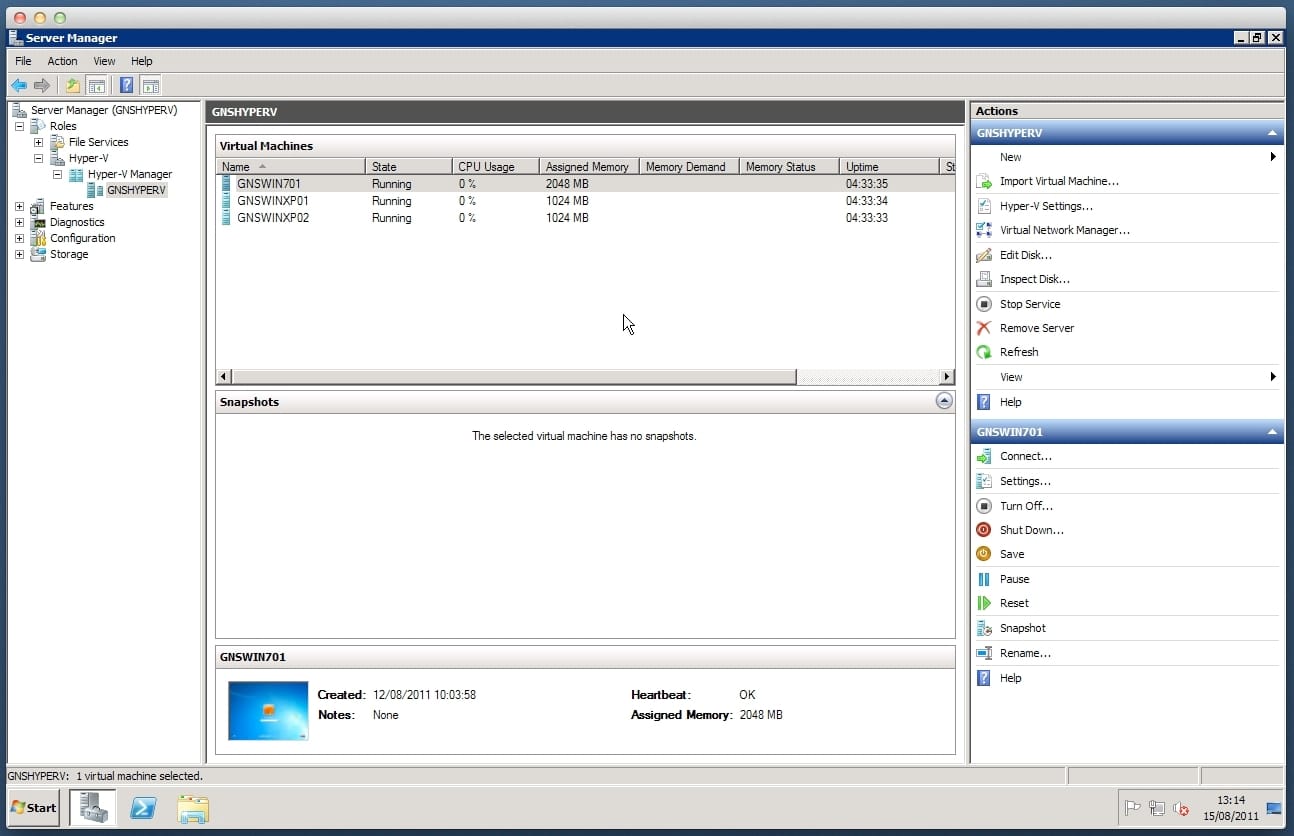
At this point a simple wizard will guide you through the setup process. It allows you to configure certain aspects of your virtual machine, such as memory, storage and network settings. If you are unsure about a particular setting I recommend you select the default value.
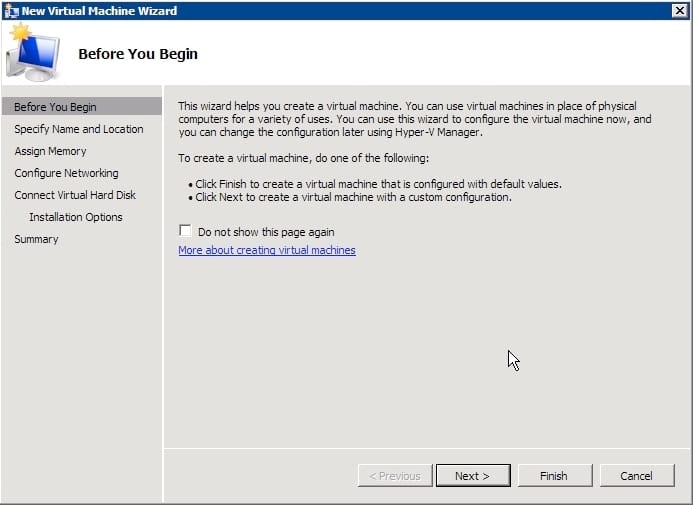
Once configured, the guest operating system installation will begin. This is the same as if you were installing the operating system on a physical machine. The final phase is to enable Remote Desktop on the guest virtual machine so that it can be accessed directly over the network.
That’s it! You now have Hyper-V up and running and a guest operating system available from any device that has access to an RDP client (for example, Windows, Mac OS X, iOS, etc).
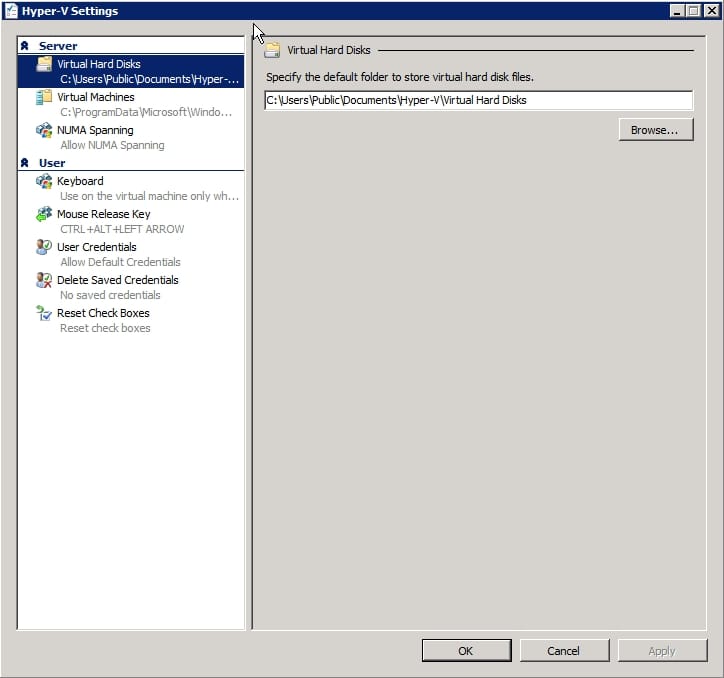
At any point you can return to the main Hyper-V server to make changes to your configuration or modify / create new virtual machines. The main Hyper-V settings can be accessed from the Server Manager by clicking “Hyper-V Settings” from the right pane.
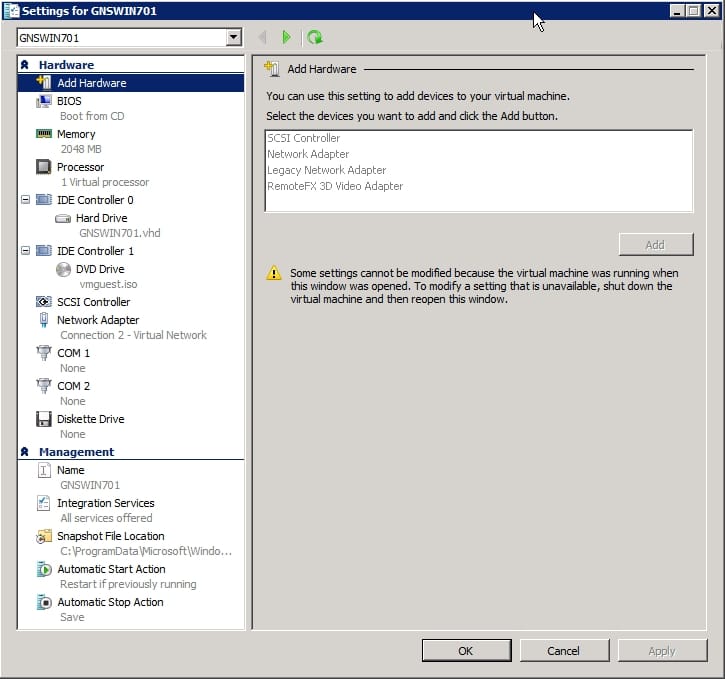
You can also modify any virtual machine by highlighting it through Server Manager and then clicking “Settings” from the right pane. Please note that for some settings to be modified the virtual machine must first be powered off.
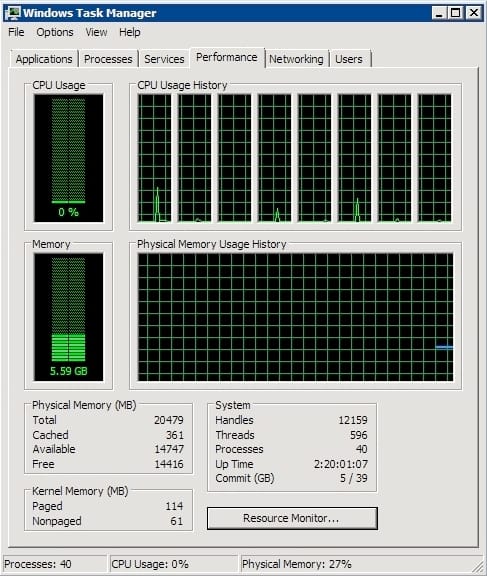
As you start to add more virtual machines be sure to keep an eye on your hardware capacity through “Windows Task Manager”. Although Hyper-V will do a good job of managing the available resources, you still want to ensure you have enough physical memory and storage to meet your virtual machines needs.
Hopefully this article has been helpful. For more information head over to the Microsoft Hyper-V website.